CLICK HERE TO PURCHASE IN THE E STORE!
CLICK HERE TO PURCHASE IN THE E STORE!
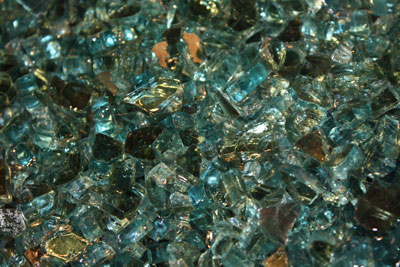
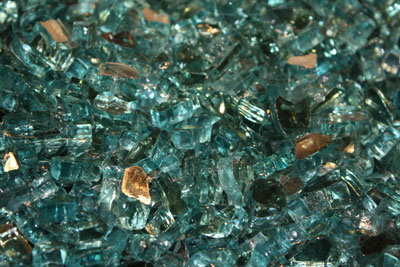
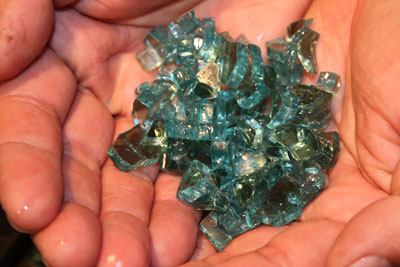
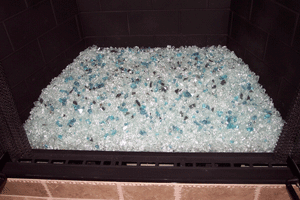
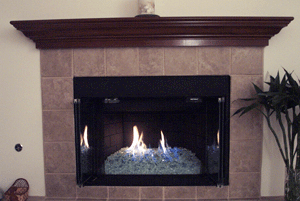
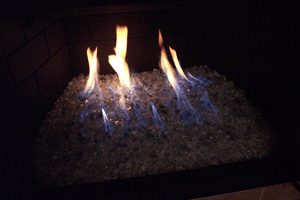
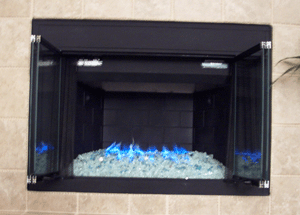
The fire place below has Clear Base Glass, Azurlite Base Glass and Azurlite Reflective Base Glass.
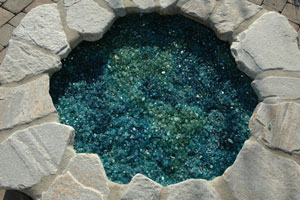
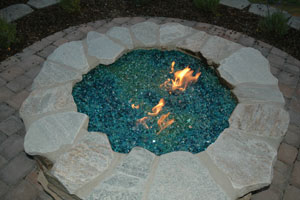
The fire pit below is in Boise! It has
Evergreen Base Glass and Evergreen Reflective Base Glass
Azurlite Base Glass and Azurlite Reflective Base Glass
Ford Blue Base Glass and Ford Blue Reflective Base Glass. Looks great.
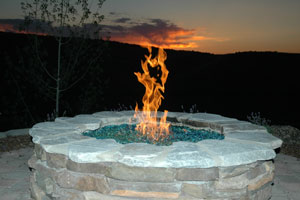
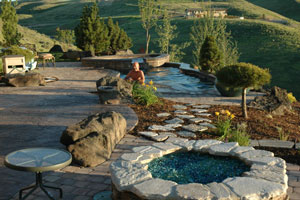
Makes me want to go to Boise!
CLICK HERE TO PURCHASE IN THE E STORE!
CLICK HERE TO PURCHASE IN THE E STORE!
The fireplace below is in San Diego, California and the colors used were:
wow!
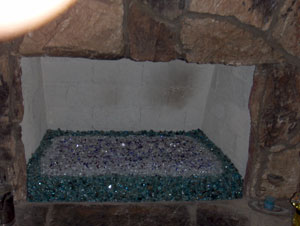
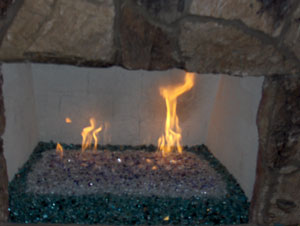
The end pictures show that the burner was too close the wall which was an easy fix by moving the burner forward.
This is where is went a little bit wrong, oops. We just had them move the burner forward and now its fine and the back wall was repainted.
CLICK HERE TO PURCHASE IN THE E STORE!
CLICK HERE TO PURCHASE IN THE E STORE!
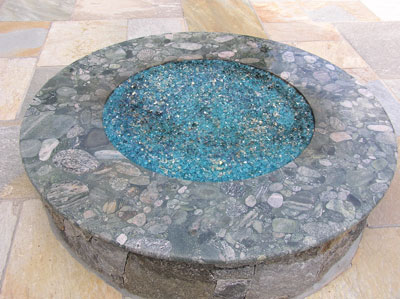
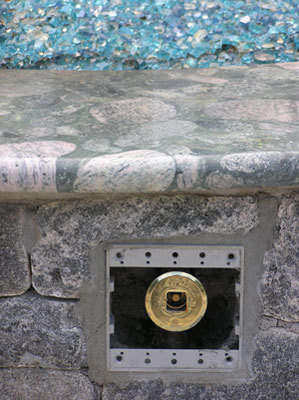
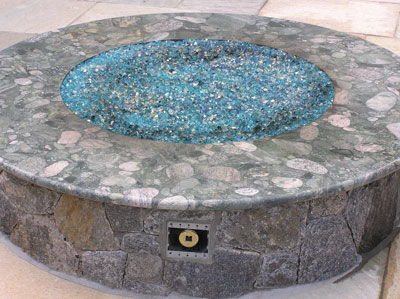
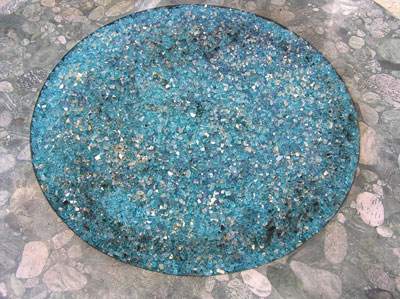
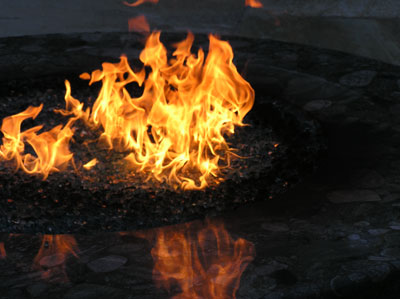
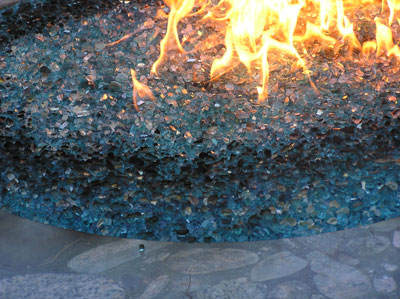
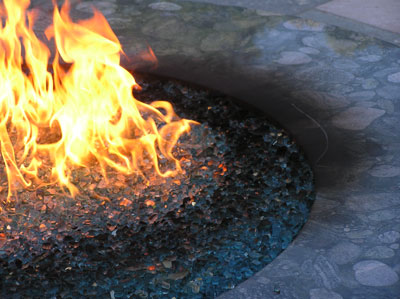
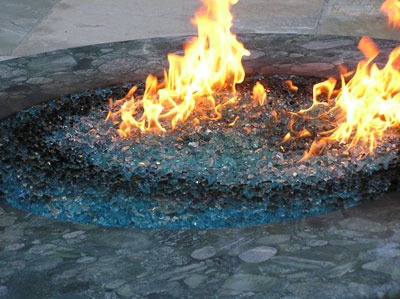
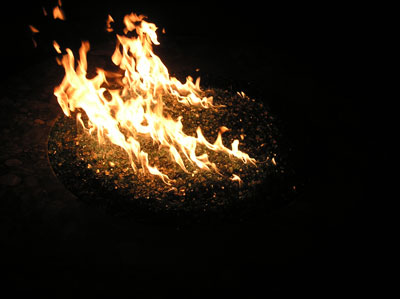
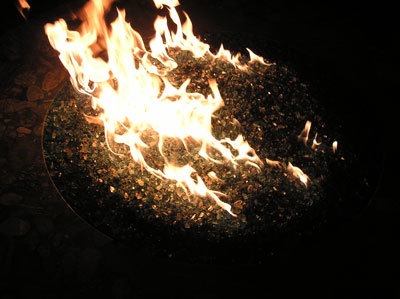
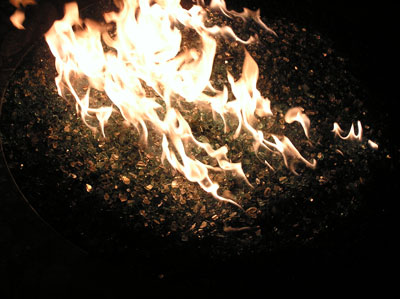
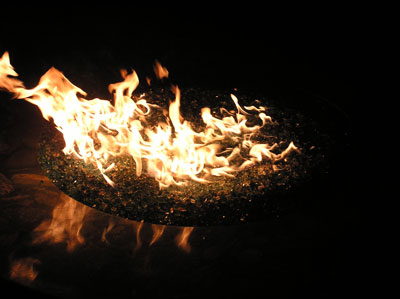
The fire pit below is a failed attempt of a propane conversion without our help in the beginning. You can't just burn propane! If you try this, this is what it will look like. You need to calibrate the amount of air to propane or it will back fire, burn black or explode! We recommend a thermocouple, air mixer/ venturi along with several other important factors. We won't tell you who tried this but we will tell you we did fix the issue and now the customer is very happy. We did use Azurlite Base Glass with Azurlite Reflective Base Glass.
CLICK HERE TO PURCHASE IN THE E STORE!
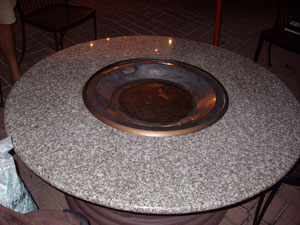
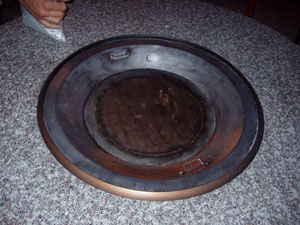
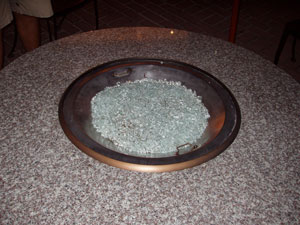
The fire pits below are located in Laguna Beach California at the Cliff Restaurant
5775 South Coast Highway Laguna Beach 92651
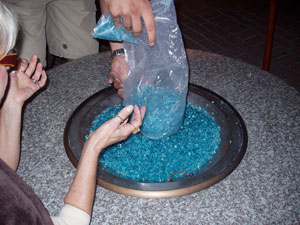
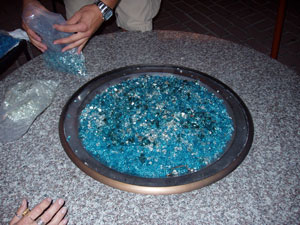
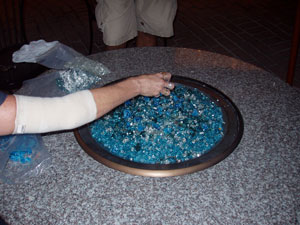
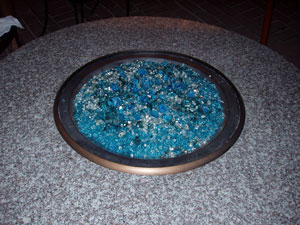
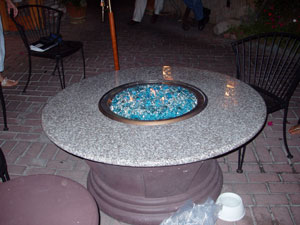
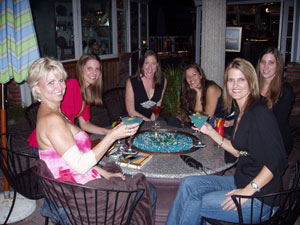
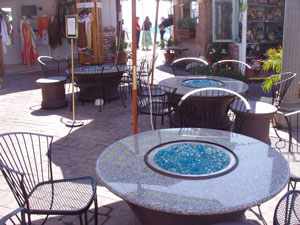
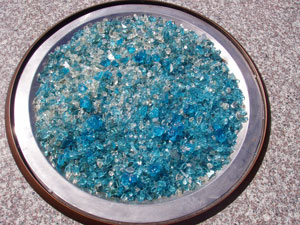
We used a Clear Base Glass with Azurlite Base Glass on top with Azurlite Reflective Base Glass. Then we added Emerald Green Topper and Copper Blue Topper which turns green when it gets hot. Then it turns back. Because the chrome is seen when its cold and the copper changes the color to green when it get 500 degrees.
CLICK HERE TO PURCHASE IN THE E STORE!
The fire pit below has an Azurlite Base Glass with Azurlite Reflective Base Glass on top. Then topped with Pale Lime Green Topper and Aqua Marine Topper.
The fireplace below is a
Malm Carousel Fireplace We replaced the attempted dual burner which it was originally installed with with a simple 12" steel ring.
This fireplace has a safety pilot light kit which was still left intact for local code reasons but we did get rid of the non functioning pan burners.
Below we poured the crushed lava base up to and just covering the ring burner.
With the doors closed just enough as you can see now they can control the hurricane/ tornado effect!
The fireplace below has Azurlite Base Glass with Dark Red Orange Topper and Yellow Amber Topper on top.
The fire pit below has a
Clear Base Glass,
The fireplace below is in Palm Springs, California and is a self install
Screw on the flex line adapter
Attach the flex line and burner with the flex line under the burner.
Test the burner to insure the flames are not hitting the back wall.
and you are done!
CLICK HERE TO PURCHASE IN THE E STORE!
The fireplace below was installed by George Foote who also built his own pan, great job! We supplied the burners and glass and George supplied the talent and labor. Great job George! The colors used were:
Before the pan and glass.
Here is the stainless steel pan that George built.
and the rest of the colors for one nice design from George!
CLICK HERE TO PURCHASE IN THE E STORE!
On this page (as if you needed another page) We are going to show you how to build a basic fire pit for your deck/ back yard.
This was built by Glenn Harvey of British Columbia.
This first picture is the frame he had started with.
You can make one from metal studs, aluminum studs, etc. Anything non flammable.
Wrap it with wonder board or durock/ cement board.
Below you can also wrap it with wire for better adhesion to the backer board.
This fire pit was natural gas. We also manufacture the burners for propane. Well, we are the only ones who actually manufacture propane burners for your projects.
Below you can see the gas connection coming up from the deck. Glenn used a pan but he also could of used an aluminum/ stainless steel base plate as well.
The stacker stone is now being applied.
As you can see below the trimming valve is installed on the side. You would be surprised on how many plumbers don't think of this little detail, a valve to turn it on or off. I have seen the valves installed inside of the pit or not even at all. You also need to be careful as to not have a gas line installed that is too small for the application.
Now the stone and cap are done, great and simple job!
Below you an see the larger filler lava rock was installed. If a flat plate were to have been used you wouldn't need the larger filler lava rock base.
Below our crushed lava was used to cover the larger lava rock to insure the glass does not fall through. This makes an even base. What ever shape you make the lava is the shape the glass will take.
Below we installed Water White base glass (32 lbs) for a 1 1/2" cover!
The stone on the side of the fire pit used was to match the stone on the house as well. Looks awesome!
Below is just the Water White before the colors were added.
The colors that were added are as follows:
If you notice below the center of the sun, it changes when it get hot! This one of our chameleons that change when the glass gets hot. If you look real close at the Orange Topper (next to the suns center) as well, it turns a bright cinnamon red when it get hot also! All of our chameleons will be posted when we get a chance. This is just another one of our product lines that we have not had time to further promote.
Above is the fire burning and
below the fire was just turned off.
Glenn spent a few hours placing all of the glass to make this very cool scene. So don't just think you can just throw it on and it knows were to go. Very creative!
CLICK HERE TO PURCHASE IN THE E STORE!
CLICK HERE TO PURCHASE IN THE E STORE!